
Riser Clamp vs Pipe Clamp for Vertical Pipe
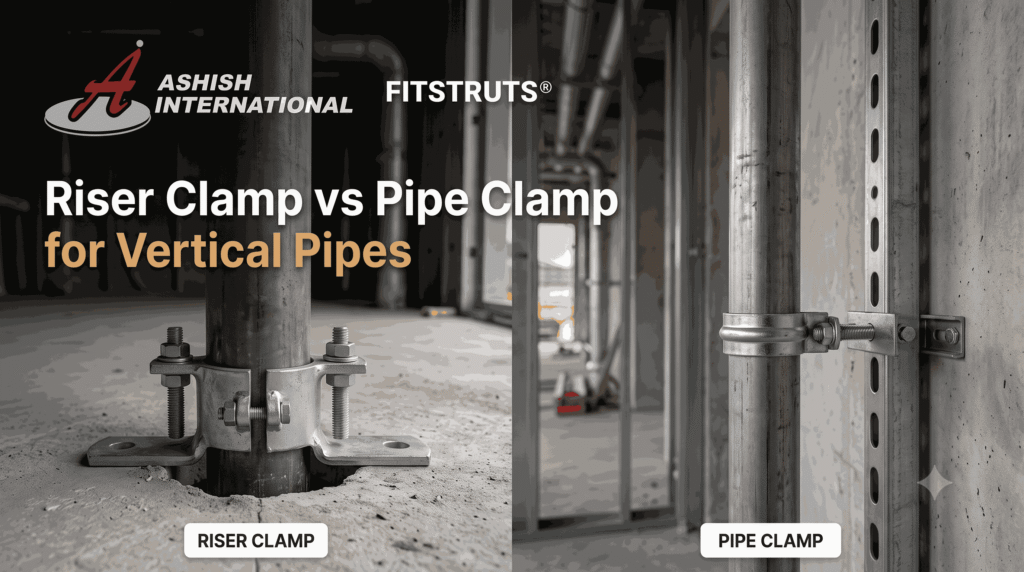
In the choice of riser clamp vs pipe clamp for vertical pipe, the riser clamp is the correct one: a standard pipe clamp is built for horizontal runs and will slip under a vertical load. A riser clamp wraps around a vertical pipe and rests its two arms on a floor slab or structural steel at each floor penetration, so the pipe’s full weight transfers safely to the building. A standard pipe clamp or U-bolt holds a pipe sideways by friction alone and is not rated to carry weight along the pipe’s axis, so on a riser it can slowly slide until the whole run drops onto the bend below. Use a riser clamp for any vertical pipe, and a pipe clamp for horizontal runs. Ashish International, with 25+ years in MEP supports, manufactures both riser clamps and pipe clamps to international standards, and this guide explains exactly when to use each. The Core Difference in One Idea The whole distinction comes down to the direction of the load, and getting this one idea right prevents the most dangerous support failure in plumbing. A horizontal pipe pushes down on its support, so a standard clamp holding it from above or the side works well. A vertical pipe pushes along its own length, straight down through itself, which no sideways clamp can hold by friction for long. A riser clamp is designed for exactly this axial load: its arms sit on a solid surface and carry the pipe’s weight in compression, not friction. Using a horizontal clamp on a vertical pipe is the single most common, and most hazardous, mistake in pipe support, because it fails slowly and then all at once. Once you see that load direction, not pipe size, decides the clamp, every correct choice follows. Riser Clamp vs Pipe Clamp, Side by Side The two devices look similar but do very different jobs. The table below sets out how they compare for vertical pipe support. Feature Riser Clamp Standard Pipe Clamp Load direction Vertical / axial Horizontal / lateral How it holds Arms rest on slab or steel Friction around the pipe Where it sits At floor penetrations Along horizontal runs Rated for riser weight Yes No, will slip Typical use Multi-floor risers Horizontal mains and branches Failure risk if misused None when correctly specified Pipe slides and drops The decisive row is “rated for riser weight”: a standard clamp simply is not, which is why it should never carry a vertical run. Read this comparison first and the choice is settled before any sizing begins. When to Use Each One Matching the clamp to the run is straightforward once load direction is clear. Use each where it belongs: Use a riser clamp: on any vertical pipe passing through floors, especially heavy water-filled or cast-iron risers in multi-floor buildings. Use a pipe clamp: on horizontal mains, branches, and short runs where the load presses down on the support. Support cast iron more often: heavier pipe materials need closer support intervals on the riser. Distribute tall risers: a very tall or heavy riser may need clamps at several floors so no single slab is overloaded. The clearest rule for a vertical pipe support in India is simple: if the pipe goes up through a floor, it needs a riser clamp, not a pipe clamp. Choose by load direction rather than habit, and a riser stays safe for the life of the building. How a Riser Clamp Actually Carries the Load Understanding the mechanism explains why the riser clamp is trusted for heavy vertical runs. The clamp is fitted around the pipe and its bolts tightened so the inner surface grips firmly: full surface-to-surface contact is what stops slippage, which is why set-screw-only clamps are not used on risers. The two arms then extend past the floor opening and rest on the slab, transferring the pipe’s weight straight into the structure in compression. For very heavy risers, shear lugs are sometimes welded to the pipe so the load bears on them rather than on friction alone. Two-Bolt vs Yoke Clamps There are two common riser clamp types, and the choice depends on load. A two-bolt riser clamp suits standard vertical runs and is the everyday choice. A yoke clamp carries a greater load and keeps a lower profile below the pipe, which helps where clearance is tight. For the heaviest risers, the yoke design is the safer specification. Match the clamp type to the riser’s weight and the arms and bolts are never over-stressed. How to Specify the Right Support Selecting the correct clamp is a short, ordered check. Work through it in this order: Identify the run: vertical or horizontal decides riser clamp or pipe clamp. Size to the pipe: match the clamp to the exact pipe outer diameter. Account for the contents: water-filled and cast-iron pipe are far heavier than empty. Set the intervals: support the riser at each floor, more often for heavy material. Match the finish: galvanised or stainless to suit the environment, with matched threaded rod and fixings. Get step one right and it prevents the dangerous mistake of a pipe clamp on a riser, where most vertical-support failures begin. These clamps work alongside strut channel, pipe hangers, and beam clamps in a full support system. Specify by run type and pipe weight and a vertical support becomes genuinely reliable. Clamps Rated for the Weight They Carry A riser clamp holds a live, water-filled pipe several storeys tall, so its arms, bolts, and grip have to be made to a real rating, not just a shape. That is where manufacturing depth counts: Ashish International brings 25+ years across three units and 60,000 square feet, producing 350 tonnes of MEP support a month under in-house quality control, so every clamp performs to spec. Plumbing and MEP contractors, stockists, and sourcing companies across the UK, Europe, the Middle-East, Australia, and Africa buy from us for that assurance, and several have worked with us for over 20
Anchor Bolt Installation Mistakes in Concrete
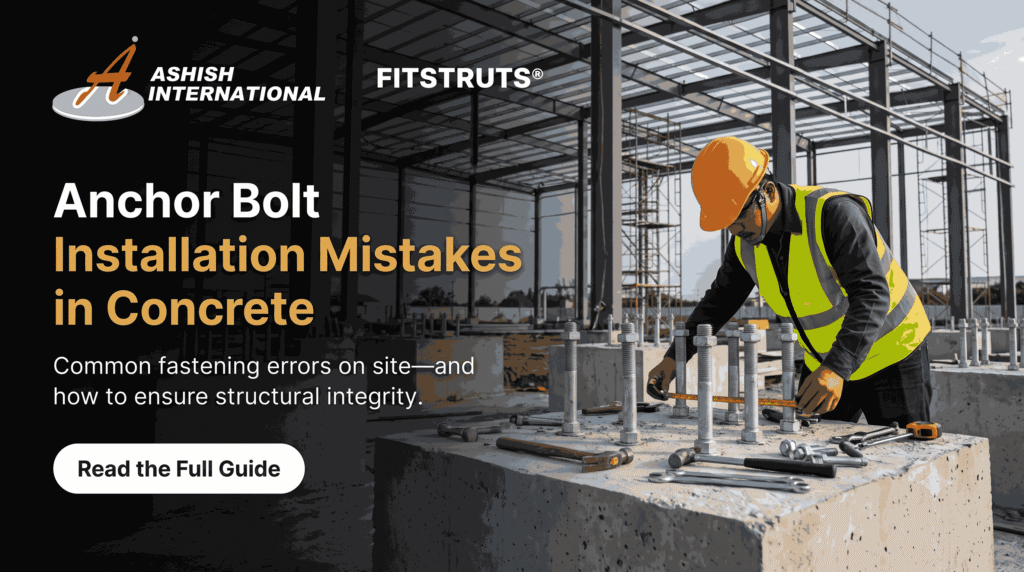
The most common anchor bolt installation mistakes in concrete are a dirty drill hole, wrong embedment depth, over- or under-tightening the bolt, and setting it too close to an edge. Any one of these can cut a bolt’s holding power by half or more, even when the bolt itself is the right size and grade. A hole left full of drilling dust is the single biggest cause of anchor bolt pull-out, because the dust stops the bolt or adhesive gripping the concrete. Getting the torque wrong comes next: too little and the bolt never sets; too much and it strips the concrete or snaps. A strong bolt fails when it is installed carelessly. Ashish International, with 25+ years in industrial fasteners, supplies anchor bolts with clear installation data, and this guide covers the mistakes that cause failure and how to avoid each one. The Seven Mistakes That Cause Most Failures Nearly every anchor failure traces back to a short list of avoidable errors. Ranked by how often they cause trouble on site: Not cleaning the hole — drilling dust left in the hole is the top cause of pull-out; the bolt grips dust, not concrete. Wrong hole diameter — too wide and the bolt cannot expand or bond properly. Shallow embedment — a bolt set too shallow loses most of its pull-out strength. Bad edge distance — set too near an edge, the concrete breaks out in a cone before the bolt fails. Wrong torque — under-tightening leaves it loose; over-tightening strips or snaps it. Ignoring cracked concrete — using non-cracked load figures where the concrete is cracked over-estimates capacity. Mismatched fastener — using the wrong anchor type for the base material or load. That first mistake alone accounts for a large share of field failures, and it takes seconds to fix with a blow pump and brush. Knowing these seven is the starting point for a fixing that holds for its full design life. Why a Correctly Sized Bolt Still Pulls Out It surprises many people that a bolt of the right size and grade can still fail, but installation, not specification, is usually to blame. When an anchor bolt pulls out, the concrete around it has given way rather than the steel breaking and that almost always comes from a dirty hole, shallow embedment, or an edge too close. A hole full of dust can lose a major share of its rated pull-out strength, because the bond or expansion never fully engages. Shallow embedment has the same effect, since pull-out resistance depends heavily on how deep the bolt sits. This is why our wedge anchor and foundation and anchor bolts ship with embedment and hole-size data printed clearly. Once you see that failure usually starts in the concrete, not the bolt, attention shifts to careful installation. Getting the Torque Right Torque is where good bolts are quietly ruined, because both too little and too much cause failure. Each bolt size has a recommended installation torque, and staying near it is what lets the bolt set correctly without damaging the concrete. The table below gives typical recommended torque ranges for common sizes. Size Typical torque What goes wrong if ignored M8 ~20 Nm Loose set or stripped thread M10 ~40 Nm Under-torque leaves it loose M12 ~60 Nm Over-torque cracks the concrete M16 ~80 Nm Snapped bolt or spalled concrete M20 ~150 Nm+ Severe over-torque splits the slab The safest practice is a calibrated torque wrench, not a feel-based tighten with an impact gun, which is a common way to over-torque without realising. These are general figures always follow the exact torque for your specific wedge anchor fastener or pin-type anchor. Torque to spec rather than by feel and a bolt stays tight without breaking what holds it. The Cracked-Concrete Trap One error deserves its own mention because it hides in the paperwork, not the workmanship. Load tables usually quote figures for non-cracked concrete, but slab edges, tension zones, and seismic areas are often cracked and there the same bolt holds noticeably less, sometimes a third lower. Using a non-cracked figure in cracked concrete looks fine on paper yet leaves a fixing badly under-strength. Confirm the concrete condition and use the matching load column before finalising a size. How to Install an Anchor Bolt That Holds Avoiding failure is mostly about a few disciplined habits, and none of them are difficult: Clean the hole properly — blow out dust, brush the walls, and blow again before setting the bolt. Drill the right hole — match the drill diameter and depth to the bolt’s data sheet. Hit the embedment — set the bolt to the full stated depth, not just flush. Respect edge and spacing — keep clear of edges and other bolts per the load table. Torque to spec — use a calibrated wrench and the recommended value for the size. These steps take minutes and cost nothing, yet they separate a fixing that holds for decades from one that pulls out under load. The same discipline underpins the reliable MEP support structures and threaded rod fixings we supply. Install with care rather than just quickly, and an anchor becomes genuinely dependable. Bolts and Data That Set Installers Up to Succeed Half of a good fixing is the installer’s care the other half is a bolt made right, with the data to install it correctly. That is what 25+ years of fastener manufacturing delivers: Ashish International runs three units over 60,000 square feet at 350 tonnes a month under in-house quality control, shipping anchors with clear embedment, hole-size, and torque data so crews avoid the mistakes above from the start. Contractors, stockists, and sourcing companies across the UK, Europe, the Middle-East, Australia, and Africa rely on that consistency, and several have partnered with us for over 20 years, some under NDA for their own designs. We manufacture anchors and industrial fasteners to the standards global specifiers expect, and for brands and MNCs we run the full range as
Strut Channel for Pre-Engineered Buildings in India
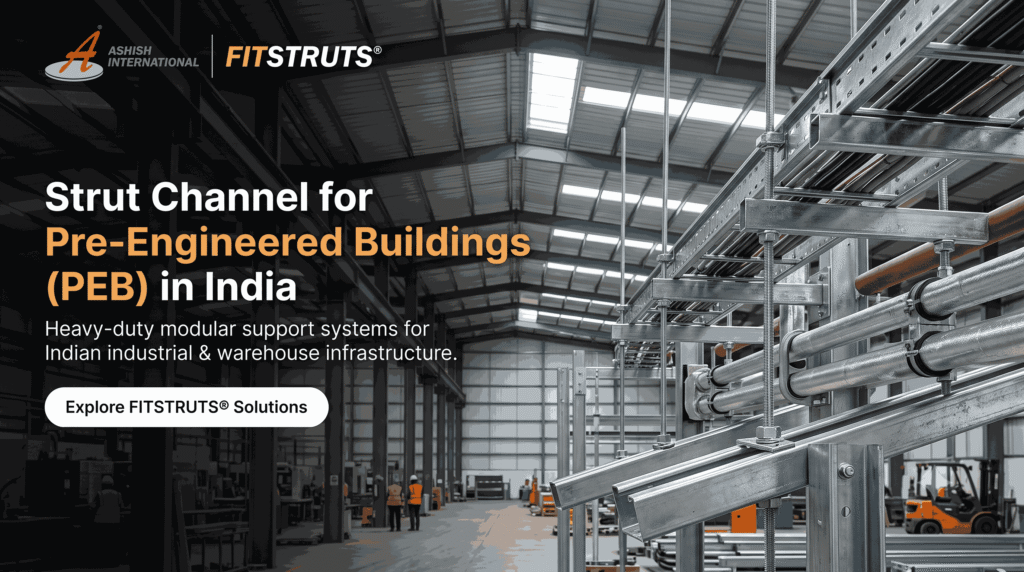
Strut channel for a pre-engineered building (PEB) in India is the framing system that holds up pipes, cable, and ducts inside steel-framed warehouses, factories, and industrial sheds. A PEB is built from steel portal frames rather than concrete, so its MEP support works differently: instead of drilling anchors into a slab, strut channel fixes to the steel frames and purlins with beam clamps, forming trapezes and brackets across wide, high spaces. PEBs have long clear spans and tall roofs, so support runs are long and heights are large, making a strong, adaptable channel system essential. The core parts are strut channel for framing, beam clamps to grip the steel, threaded rod for drops, and pipe and cable clamps. Ashish International, with 25+ years in MEP supports, manufactures strut channel and fittings suited to PEB structures, supplied across India and worldwide. Why MEP Support in a PEB Works Differently A pre-engineered building changes how services are supported, because there is no concrete to fix into the structure is steel. That single fact drives several differences: Fix to steel, not concrete — support clamps onto portal frames and purlins with beam clamps, so no drilling or anchor bolts into a slab. Long clear spans — PEBs span wide without internal columns, so support runs are long and need well-planned drops. Tall roof heights — services hang from high frames, so trapezes and rods are longer and must stay stable. Adaptable layout — factories and warehouses change use, so support must be easy to move and extend. Bare steel exposure — big sheds are often unconditioned, so corrosion protection matters. Fixing to steel rather than concrete is the defining difference, and it makes beam clamps and channel the natural support method. Design PEB support around the steel frame, not a slab, and the whole system fits the building. How Support Fixes to the Steel Frame In a PEB, the steel frame is both the structure and the fixing point, and strut channel is what turns it into a support system. A beam clamp grips the flange of a portal frame or purlin with no drilling, and a threaded rod drops from it to a strut-channel trapeze below, which then carries the pipes, cable trays, or ducts. Because nothing is drilled, the support can be repositioned as the building’s use changes a real advantage in a warehouse or factory that gets re-laid-out over its life. For long spans, a back-to-back strut channel or deeper section keeps trapezes rigid between widely spaced frames. Build the support off the steel frame with clamps and channel, and a PEB gains a services layout that is both strong and easy to change. What Support Carries in a PEB Different services in a steel building need different support, and the table below maps the main ones to the right approach. Service Typical support Key concern Electrical cable and containment Channel trapezes, cable tray Long spans, high routing Process and utility pipe Trapeze hangers, pipe clamps Weight, long drops Fire-fighting pipe Braced trapeze and riser Code, water weight HVAC ducts Trapeze from purlins Width, span between frames Lighting and services drops Channel brackets, rod Height, adjustability Long spans and tall drops shape almost every choice, which is why PEB support leans heavily on trapezes carried from the steel frame. These are the demanding conditions our MEP support structures are built for. Match each service to a frame-fixed support method and a big shed’s services stay secure across every span. How to Specify PEB Support Specifying support for a steel building is an ordered process, and getting it right avoids costly rework at height: Map the frame layout — note portal-frame and purlin positions, since these are your fixing points. Plan the drops — set trapeze positions to span between frames without over-long unsupported runs. Size the channel and rod — match to the combined service load and the span between fixings. Choose beam clamps — select beam clamps rated for the flange size and load. Match the finish — corrosion protection to suit an often-unconditioned shed environment. Frame layout drives step one, because in a PEB your fixing points are set by the steel, not chosen freely like slab anchors. Plan the support around the frame grid and a services layout goes up fast and stays adjustable. Materials and Finishes for Shed Environments Big industrial sheds are often unconditioned — open to heat, humidity, and dust — so finish matters more than in a sealed building: Hot dip galvanised — the practical default for most warehouses and factories, giving strong corrosion life. Pre-galvanised — cost-effective for dry, sheltered internal runs. Stainless steel — for chemical plants, coastal sheds, or humid process areas. Match every fitting to the channel’s finish, since a plain-steel clamp on a galvanised channel rusts first and weakens the run. Choose the finish for the real shed environment and support lasts the building’s full life. Support Made for Big Steel Buildings A PEB goes up fast and gets re-laid-out often so its support has to be quick to install, easy to move, and made to a dependable standard across long runs. That is where manufacturing depth counts: Ashish International brings 25+ years across three units and 60,000 square feet, producing 350 tonnes of MEP support a month under in-house quality control, so channel, clamps, and rod hold consistent fit and rating over an entire shed. PEB builders, industrial contractors, stockists, and sourcing companies across the UK, Europe, the Middle-East, Australia, and Africa specify us for that consistency, and several have partnered with us for over 20 years, some under NDA for their own designs. We manufacture to the dimensional and load standards global specifiers expect, and for brands and MNCs we run the full range as white-label your spec, your branding, with FITSTRUTS® where a stock line fits. For load data, product details, or a white-label discussion, call +91-99888-54380 or email ashishint2001@gmail.com. Frequently Asked Questions Q1. What is strut channel used for in a pre-engineered building?